These instructions will guide you through replacing the centrifuge lock in Bento Lab using our Centrifuge Lock Upgrade Kit.
Please note that this procedure is done at your own risk unless explicitly directed by us.
Kit Contents
The kit has the following elements
- Centrifuge Lock assembly with press-type terminal
- 2 x screws
- Stripping tool
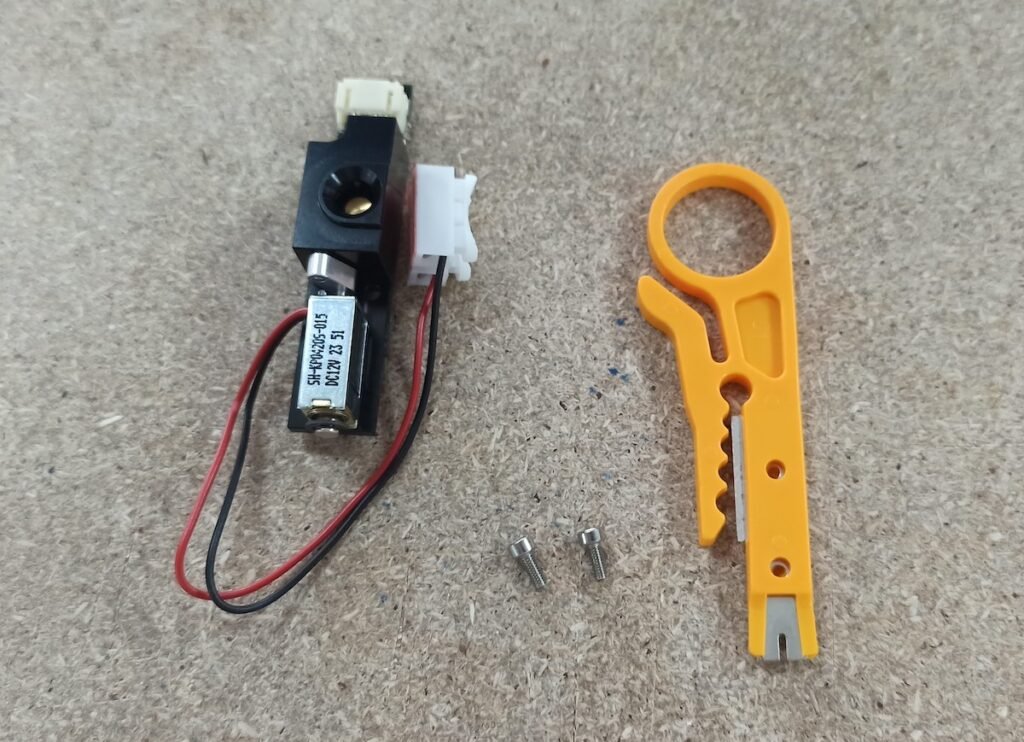
Centrifuge Lock assembly, screws and stripping tool
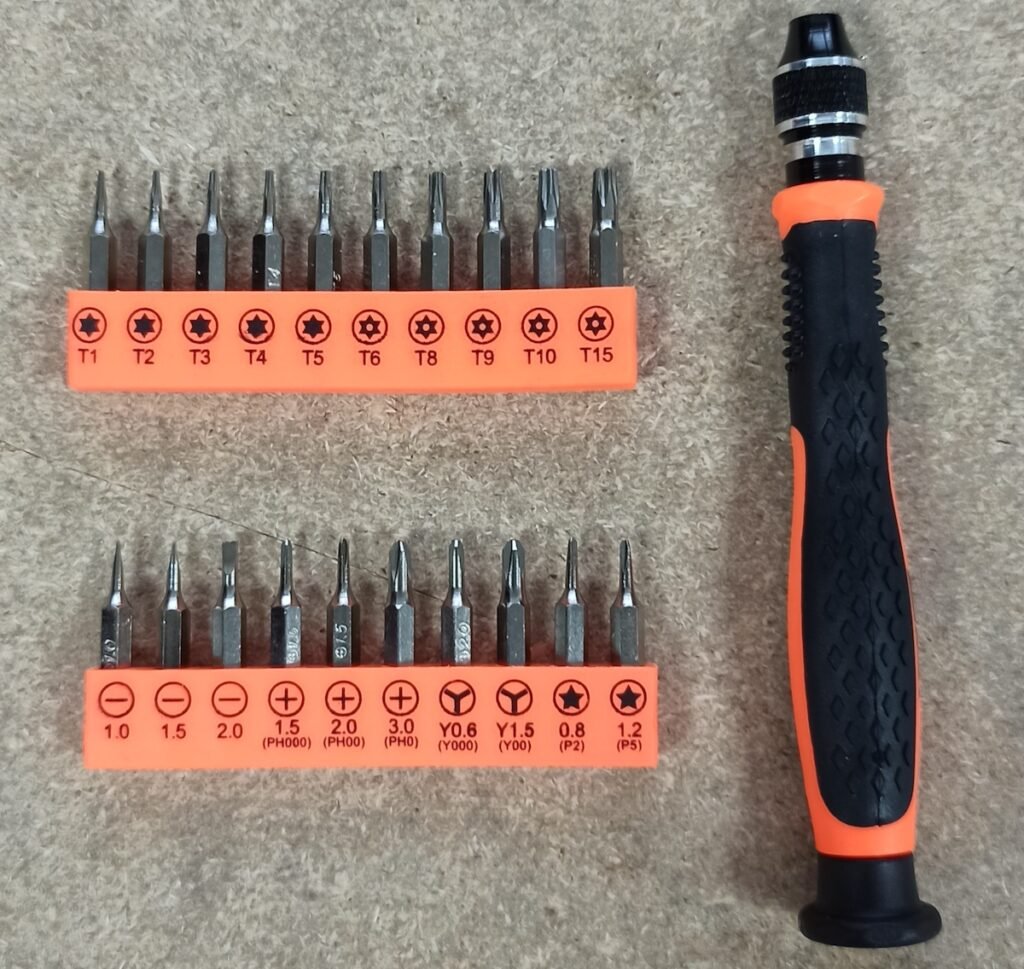
You will also need a screwdriver set with bits T8, T10 and PH2.
Step 1: Remove defective solenoid
Use the screwdriver bit T10 to unscrew the 4 screws of the centrifuge lid (Fig. 3).
Remove the plastic cover and the centrifuge window.
To easily remove the plastic cover, push the window from the back of the lid (Fig. 4).
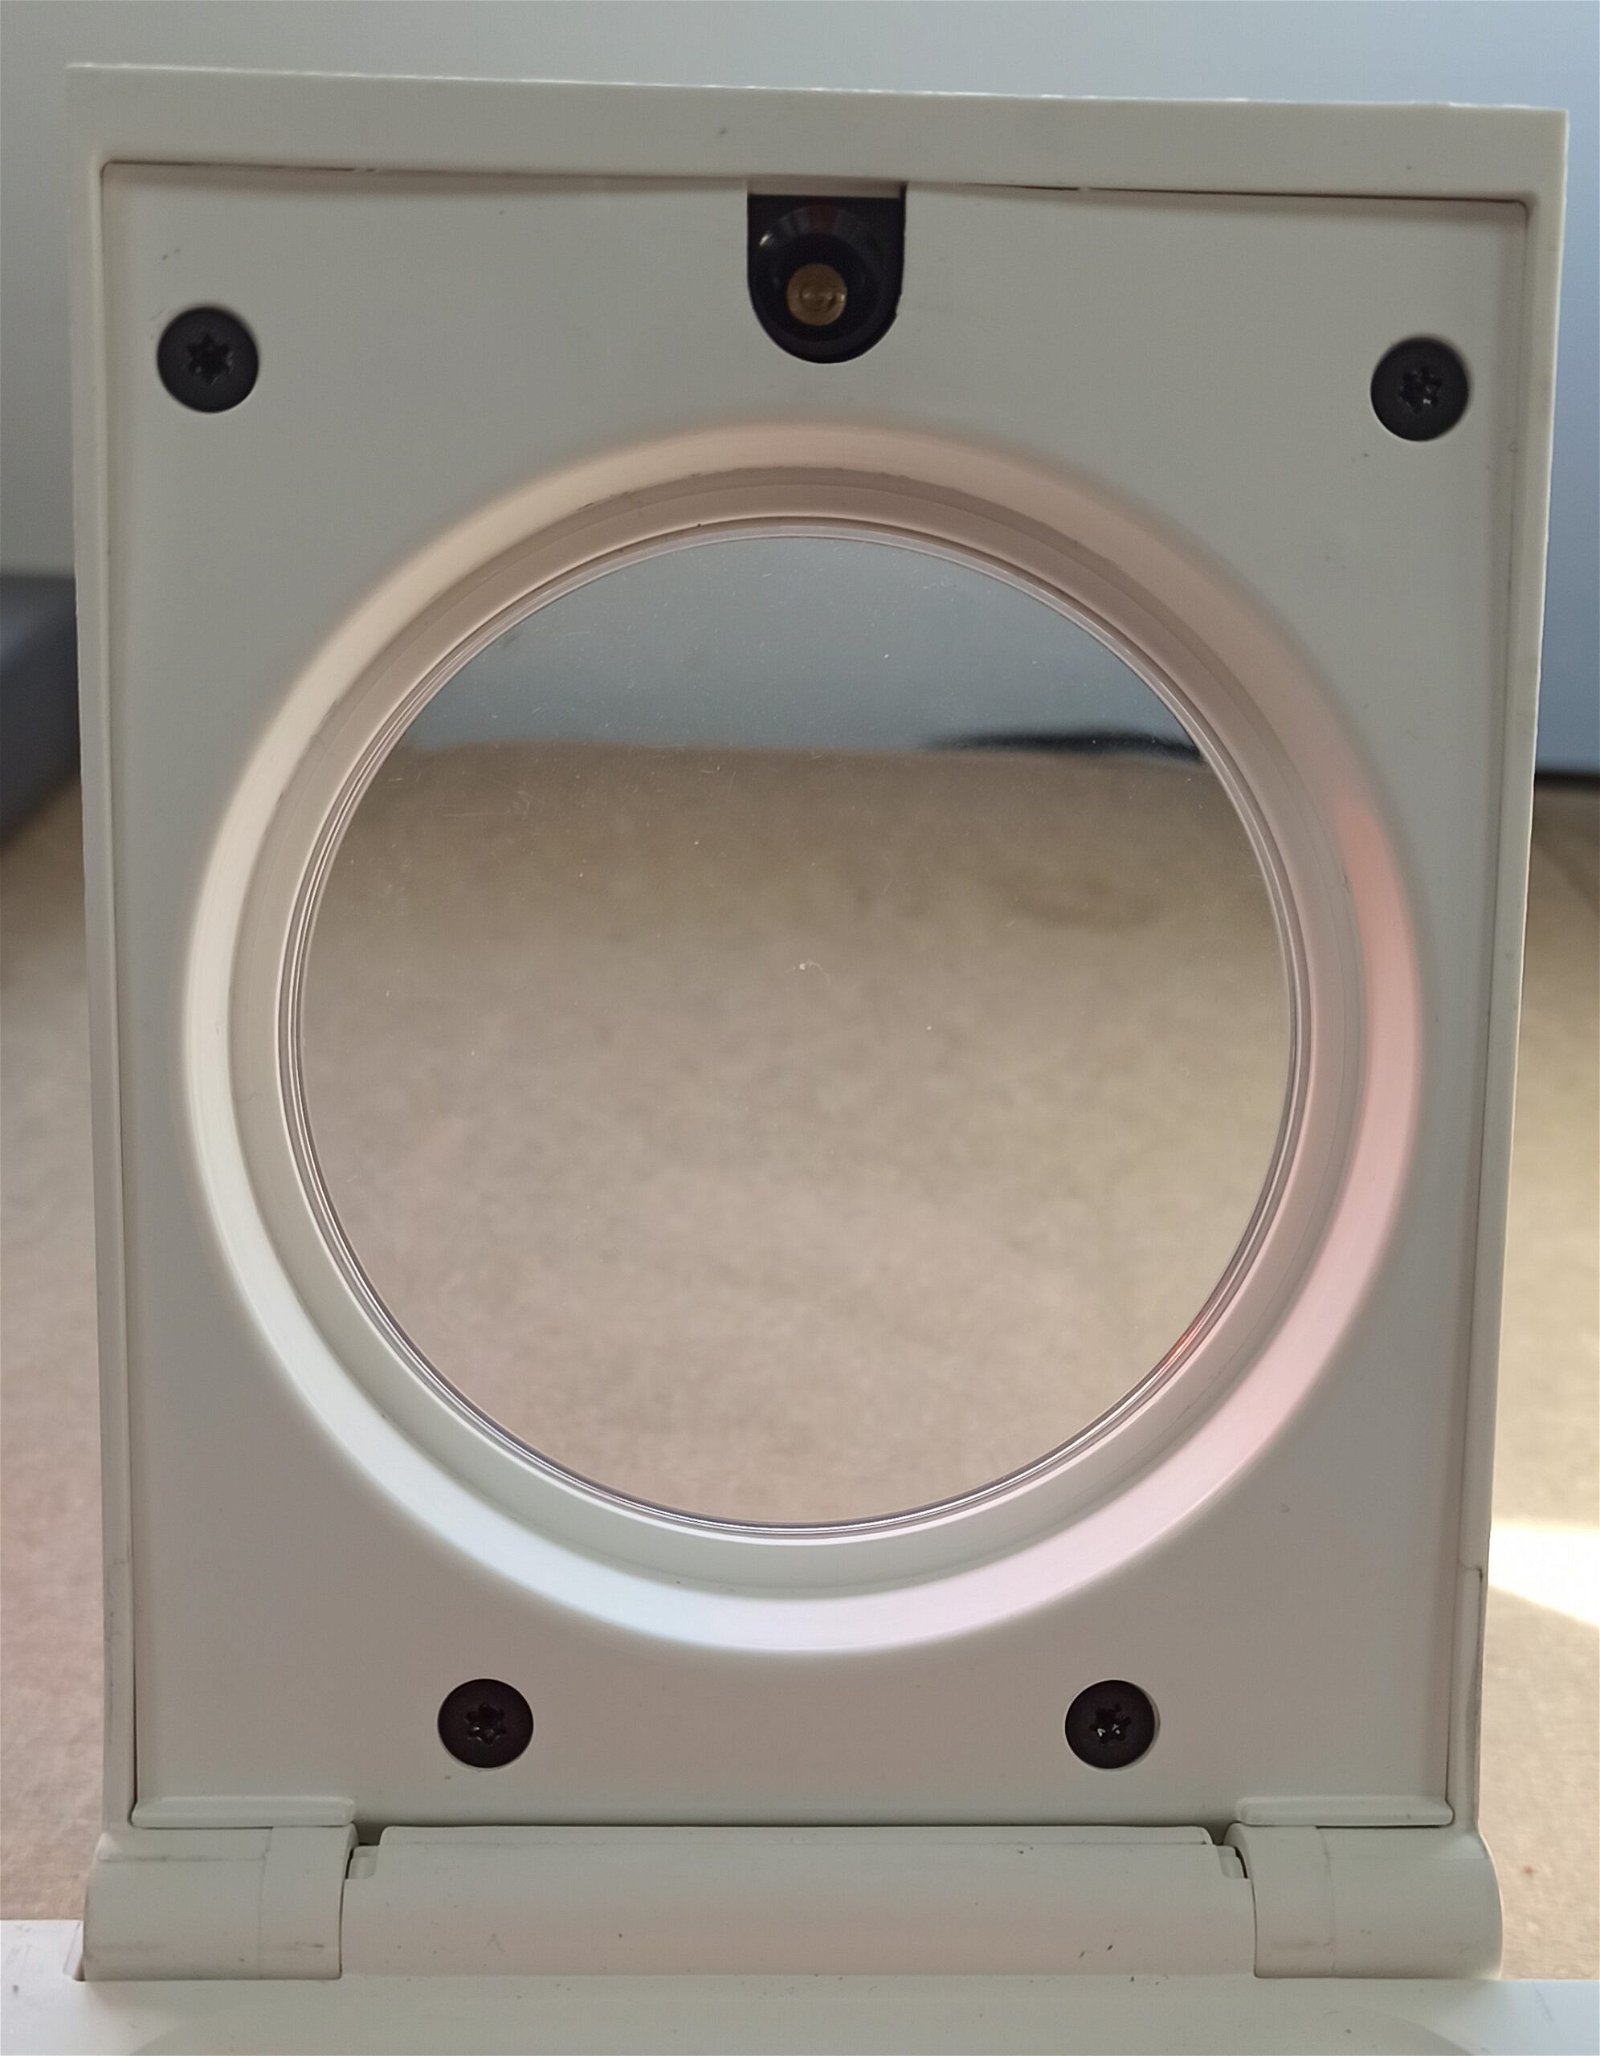
Fig. 3. Remove 4 screws from the centrifuge lid
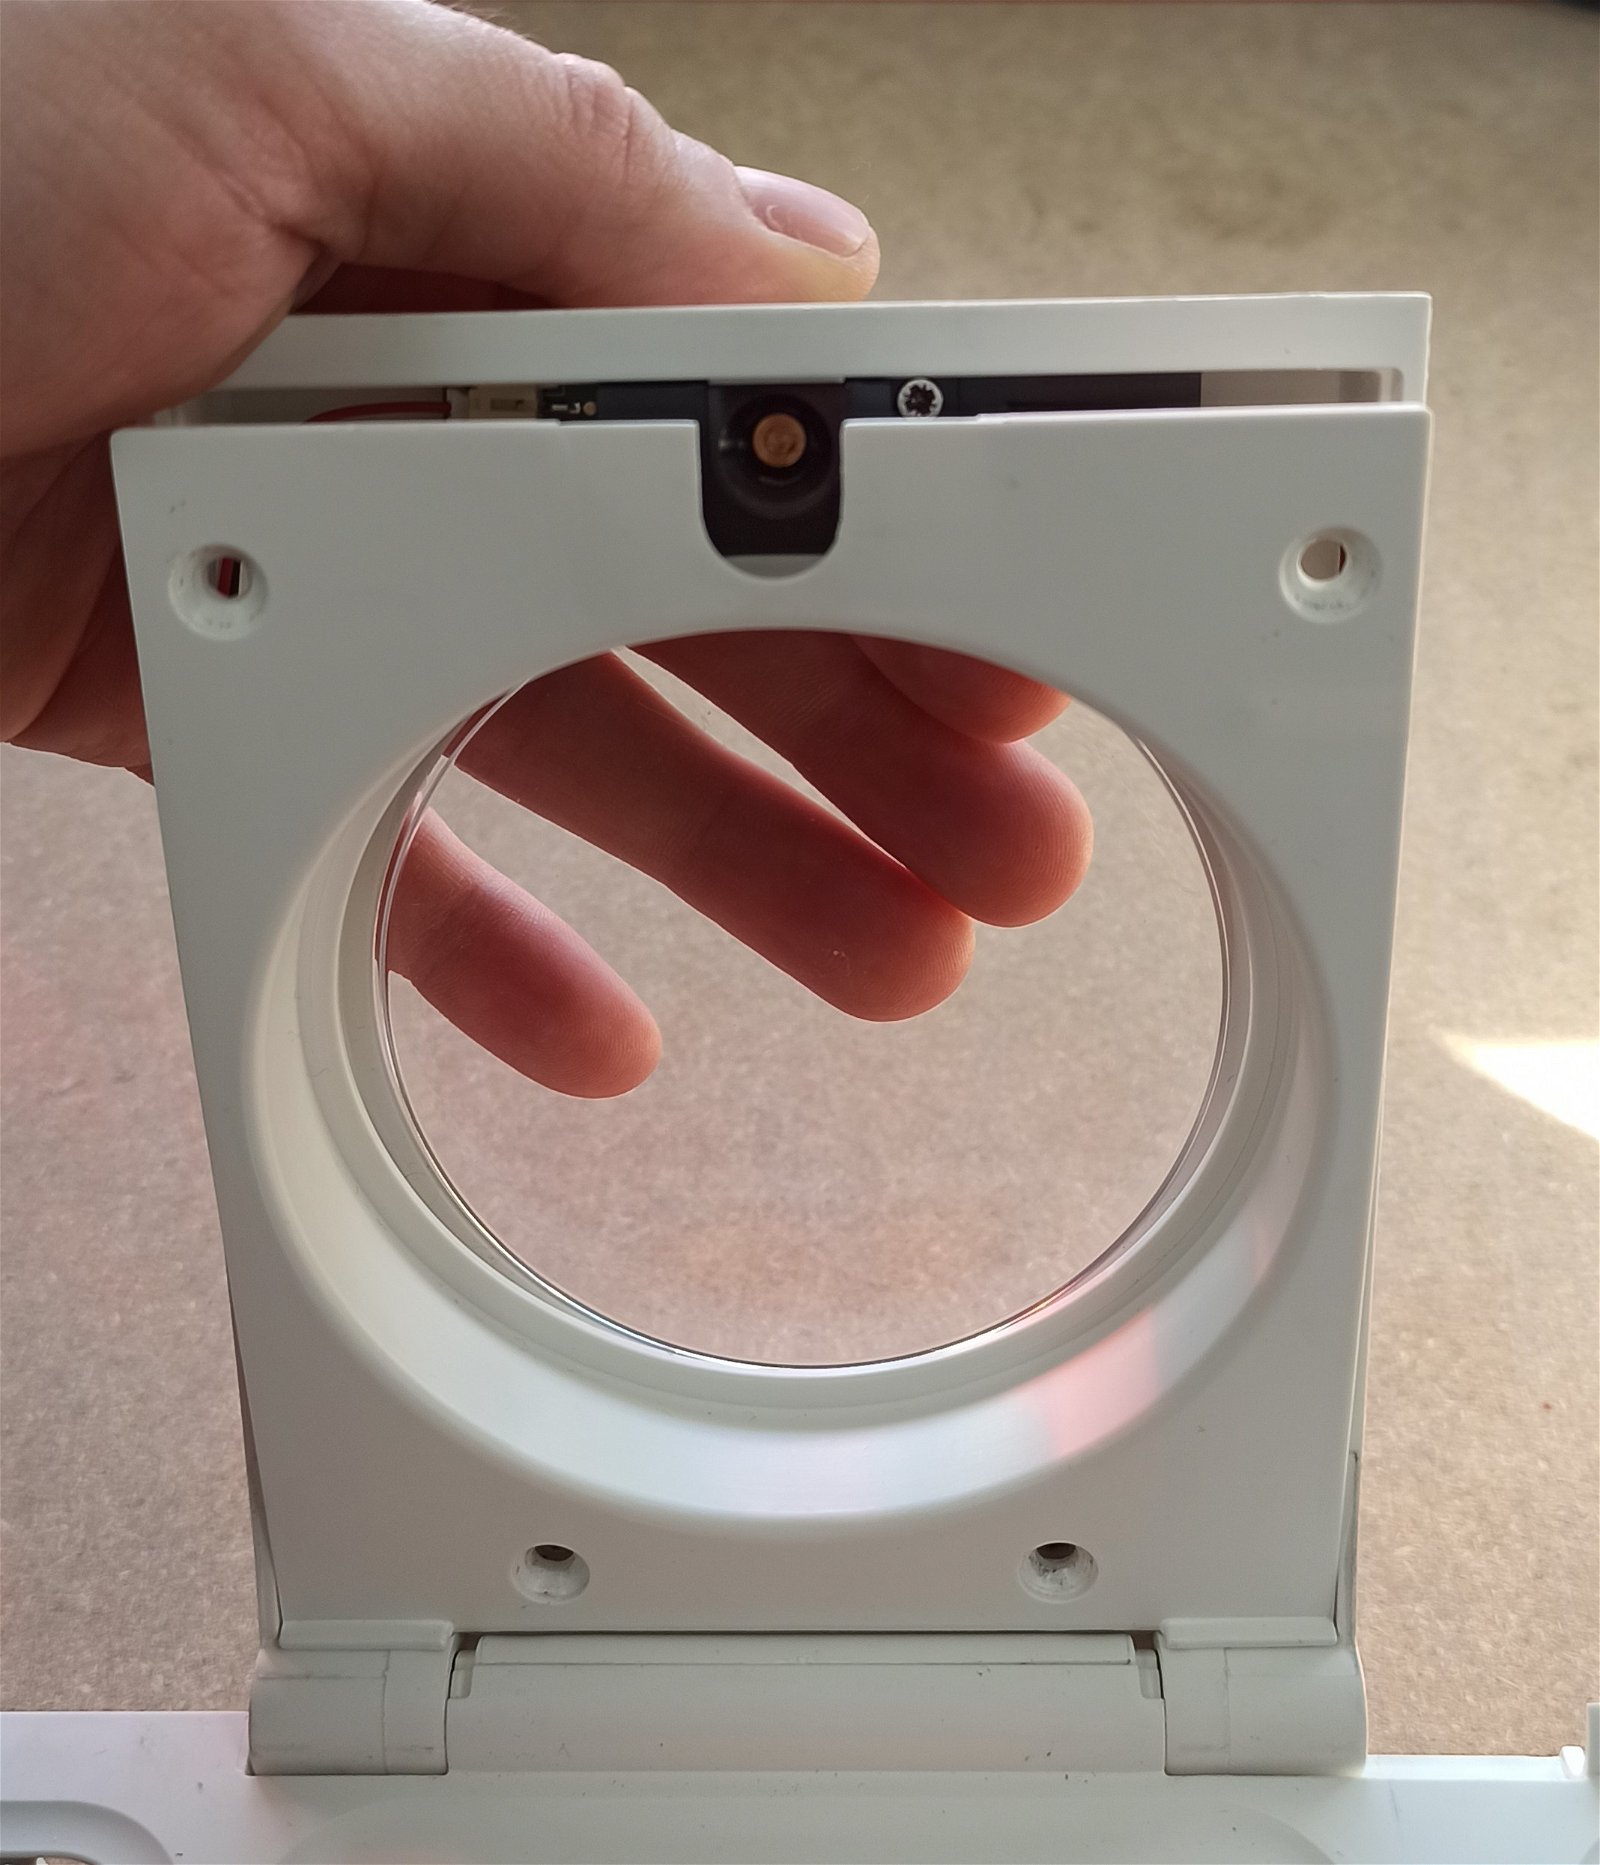
Fig. 4. Push the window from behind to remove
Place the Bento Lab resting on the hinge side, so you can easily work on the centrifuge lid.
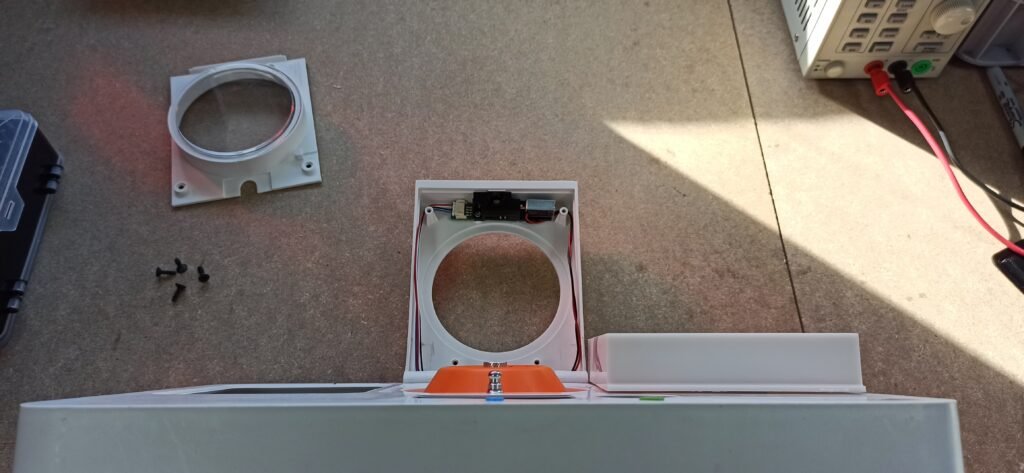
Fig. 5. Bento Lab resting on hinge side
Remove the old lock assembly:
Use screwdriver bit PH2 or T8 (depending on your lock version) to unscrew the 2 screws securing the lock assembly to the lid. These 2 screws will be discarded and replaced by the new screws in the kit.
Disconnect the 4-wire cable from the old lock.

Fig. 6. The lock assembly showing the two screws and the 4-wire cable connection (circled in blue)
Cut the 2-wire cable at the point shown in the picture, Fig. 7.

Fig. 7. Cut the 2-wire cable at the point shown
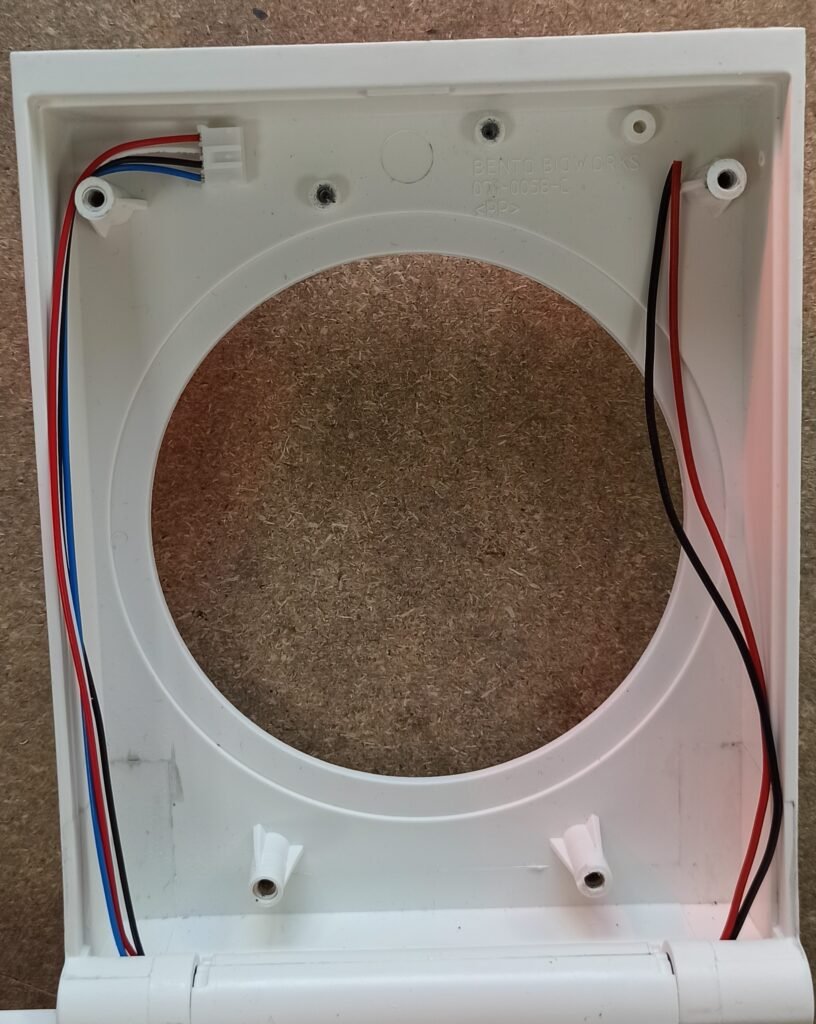
Fig. 8. The 2-wire cable after the cut
Step 2: Connect the 2-wire cable to the new lock
Prepare the wires
Using the supplied stripping tool, strip around 4-5mm of the plastic insulation from the red and black wires.
To do this, insert the wire into the smallest hole on the stripping tool as shown, press firmly and pull the insulation off. You may need a few attempts. The end result should look like the second picture.
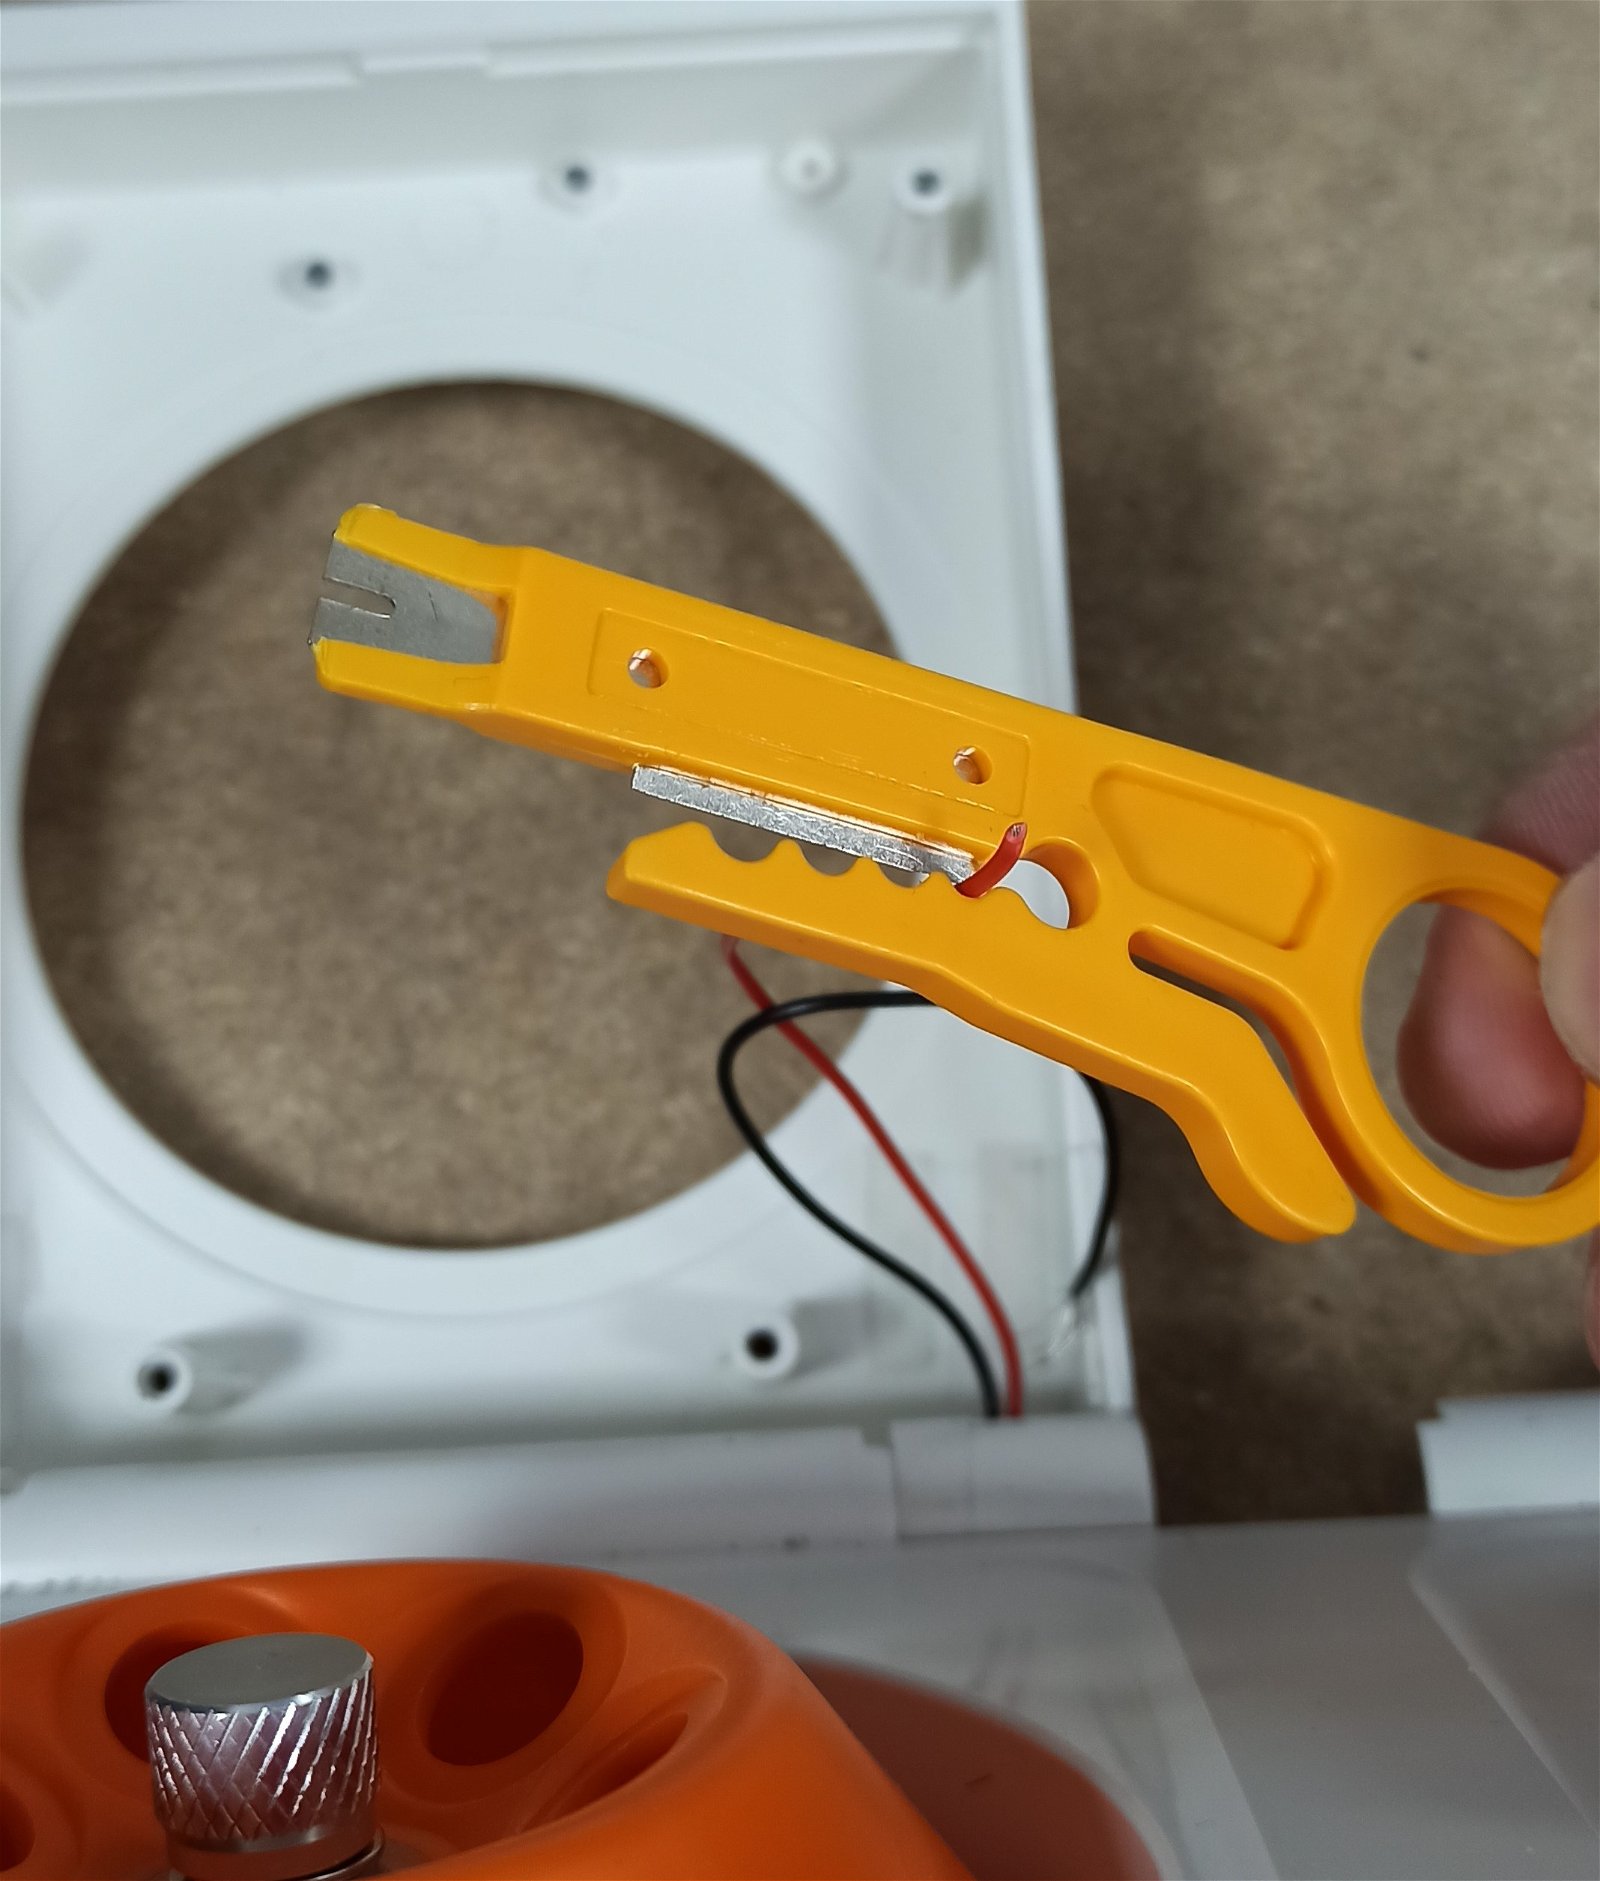
Fig. 9. Place the wire in the stripping tool
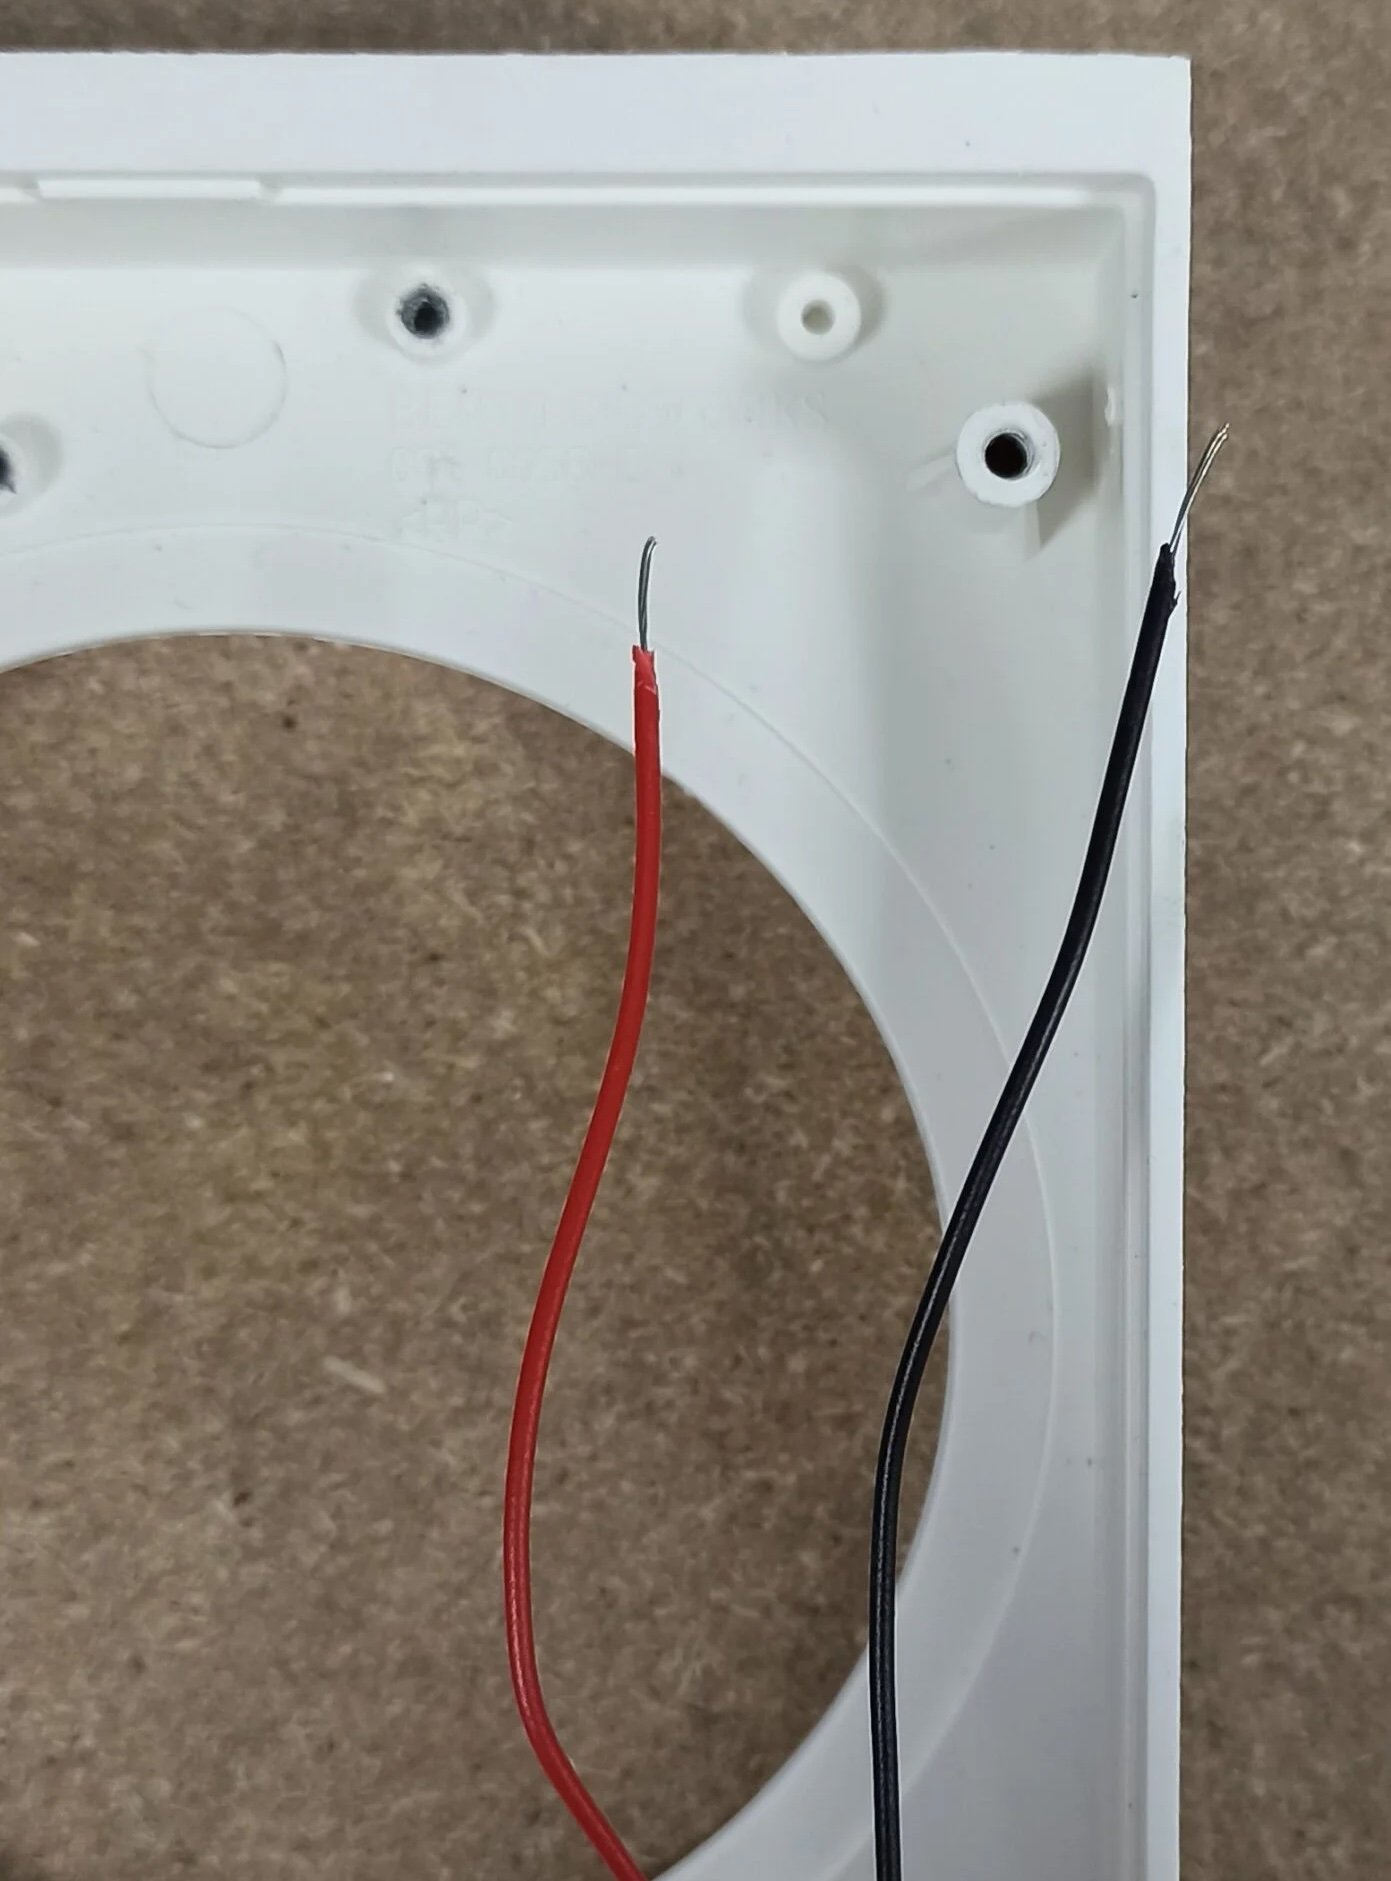
Fig. 10. End result
Connect the wires to the new lock
Place the stripped wires inside the white terminal of the new lock.
Press the clip down to insert the stripped wire inside the terminal. Ensure to match black with black and red with red.
Then, connect the 4-wire cable to the new lock.
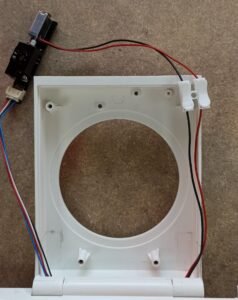
Fig. 11. New lock reattached to the wires, showing the wires connected to the white terminal on the right, and the 4-wire cable on the left.
Step 3: Reattach the lock to the lid
Fasten the lock assembly to the lid using the 2 screws supplied with the kit.
Use screwdriver bit T8, and use the new screws supplied with the kit instead of reusing the old screws.
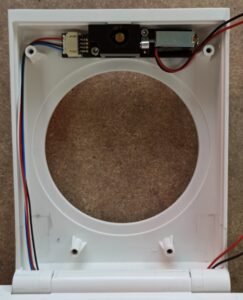
Fig. 12. Lock assembly reattached to the lid using the two new screws.
Arrange 2-wire cable as shown in the picture, under the lock assembly and around the white boss (the raised cylinder). This ensures the 2-wire cable does not get in the way while replacing the lid cover.
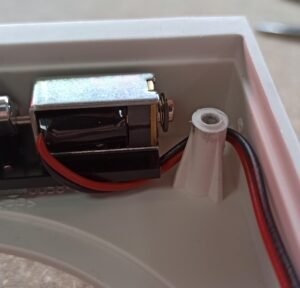
Fig. 13. The 2-wire cable placed under the lock assembly and around the white boss
Attach the terminal
Peel off the double-sided tape on the back of the white plastic terminal and attach it to the bottom right corner of the lid. Be careful to position the terminals in the right position, as the tape is very strong.
To ensure the 2 wires cable at the bottom of the lid does not get in the way while closing the lid, arrange it as shown in the picture.
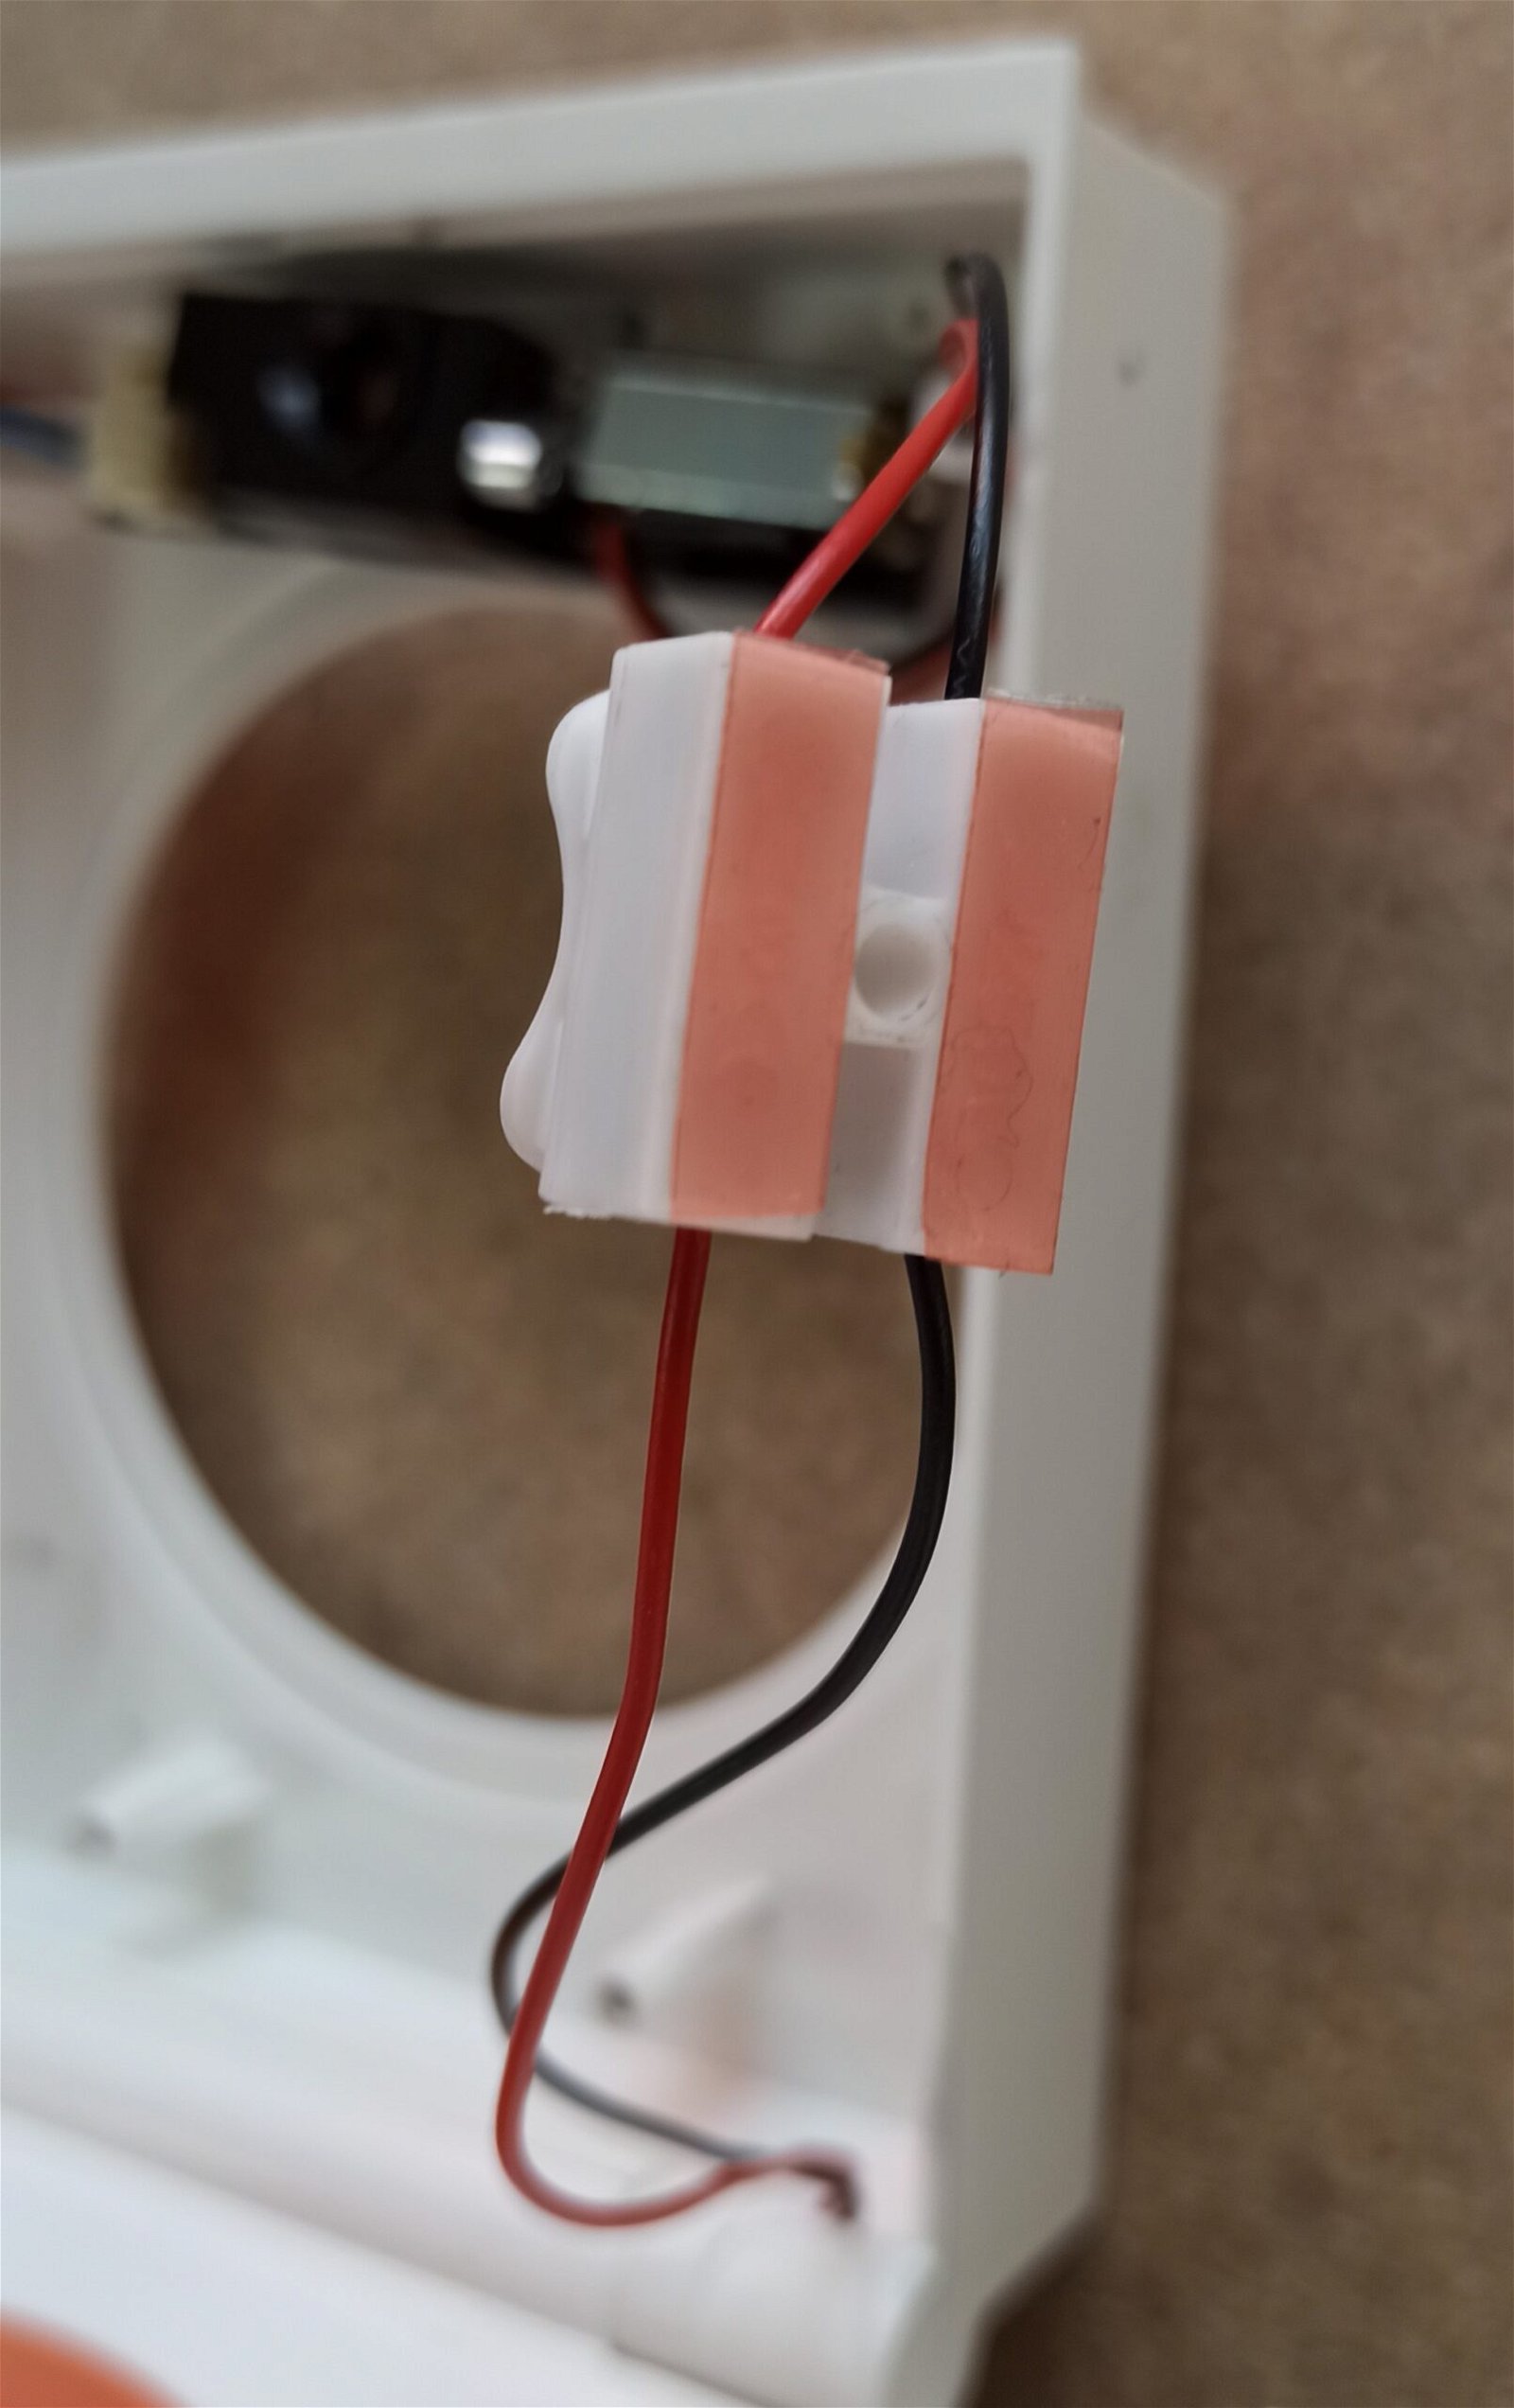
Fig. 14. Tape on the white terminal
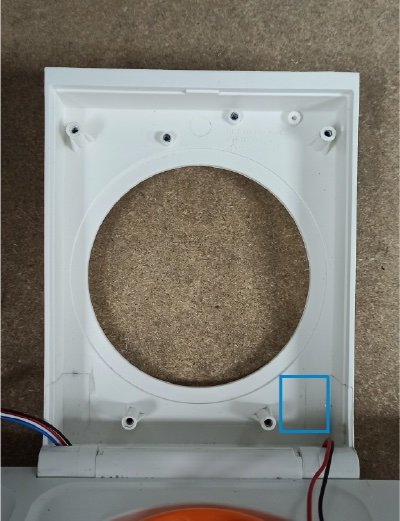
Fig. 15. Place terminal in the bottom right corner
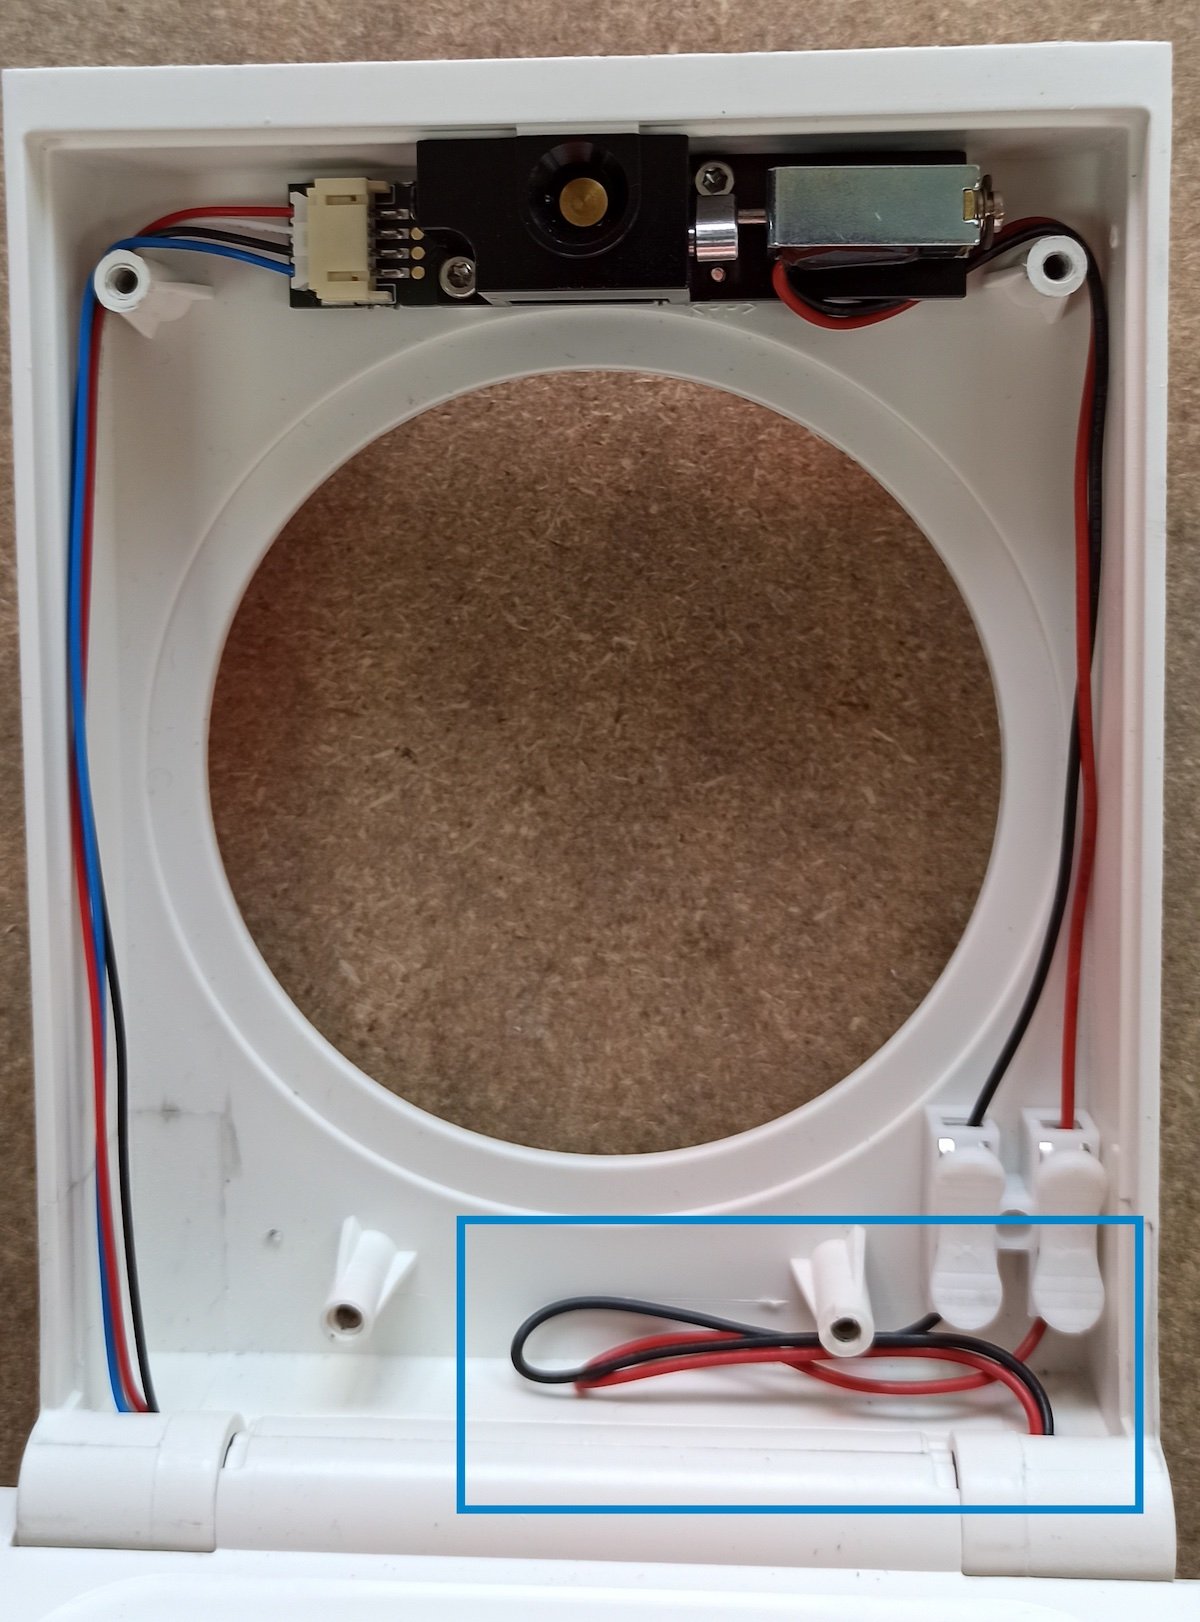
Fig. 16. Position the wires in the lid
Replace the window and lid
Put the clear window back first. Then mount the plastic cover from the bottom first, then push on the top of the cover to squeeze it under the lock body.

Fig. 17. Place the bottom of the lid first
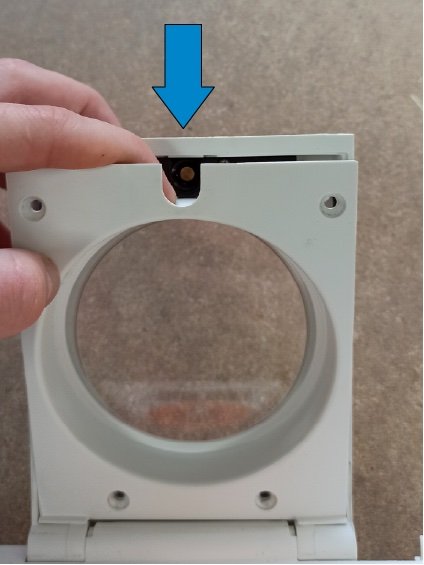
Fig. 18. Attach the top of the cover under the lock body
Finally, use screwdriver bit T10 to refasten the plastic cover using the original four black screws (as shown earlier in Fig. 3.).
Need help?
If you have any issues during the upgrade, please don’t hesitate to contact us. We’re happy to guide you through the process or schedule a call if needed.