Bringing the wonder of PCR into a classroom is an exciting way to give students hands-on experience with cutting-edge molecular biology techniques. Whether you’re setting up a practical for the first time or refining an established course, having the right materials is key to a smooth and engaging session.
This guide walks you through all the physical items you may need to set up and teach a PCR lab, from essential equipment and reagents to consumables and labware.
Whether you’re working with a Bento Lab or piecing together a setup from various sources, we’ve got you covered. Let’s dive into what you need to get started and make your PCR lab practical a success!
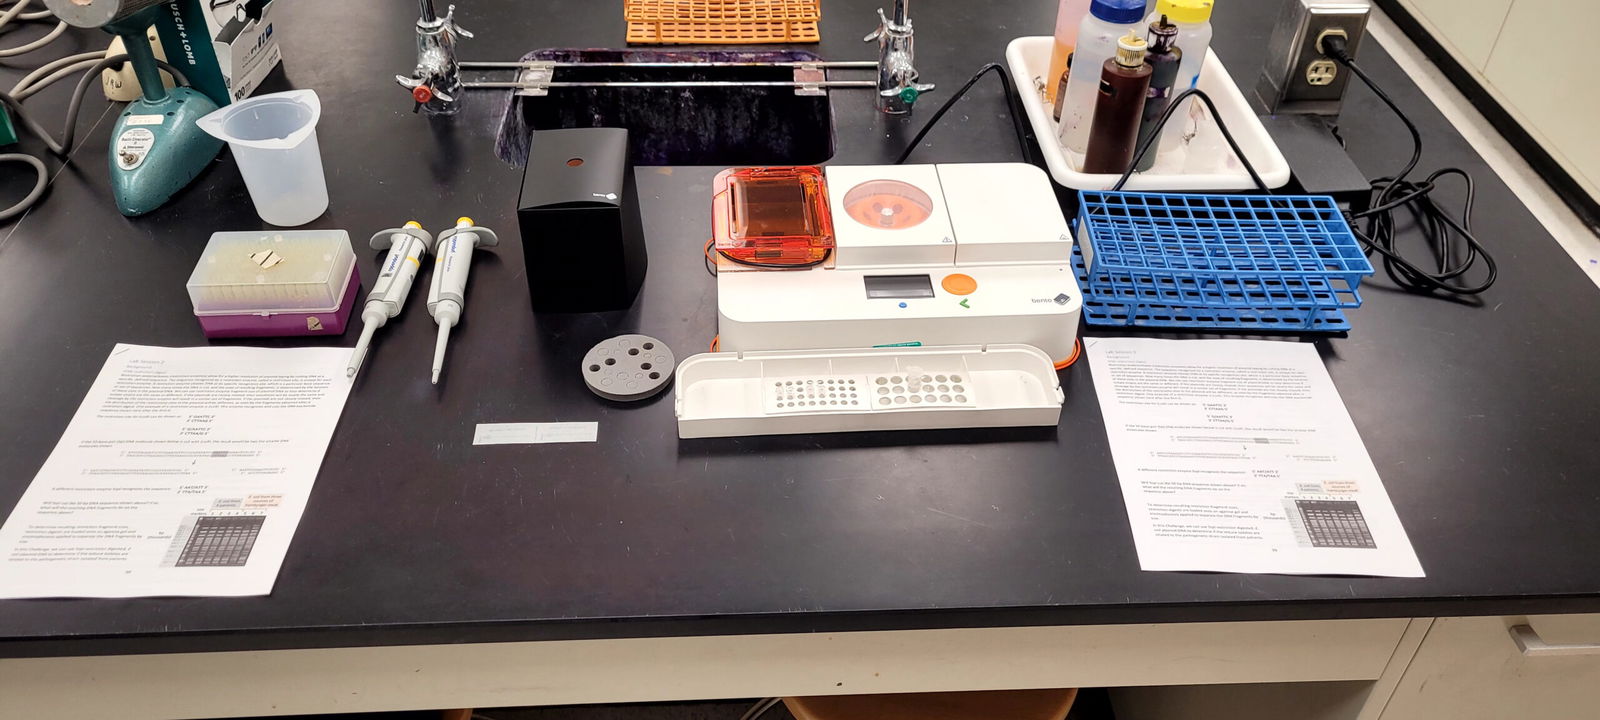
📷 Above: Undergraduate students using Bento Lab at University of North Dakota © Monica Norby
1. Equipment
To teach a PCR practical in a classroom, you’ll need a few key hardware items. Depending on your situation, you may already have some of this equipment (or you could borrow equipment) or you might be working on plans to upgrade your setup.
Here’s what you need:
- PCR Machine (Thermal Cycler):
The cornerstone of PCR! This machine cycles through temperatures to amplify DNA. Whether it’s a classic thermal cycler or a modern compact option, this is non-negotiable for running PCR reactions.
- Micropipettes:
Precise pipetting is crucial for PCR. You’ll need multiple adjustable pipettes, such as a 2-20 µL micropipette, for preparing and loading samples accurately. Plan at least one pipette of each size needed per group of students.
- Gel Electrophoresis Equipment:
To analyze your PCR results, you’ll need a way to visualize the DNA bands. This involves:- A gel electrophoresis system (for running samples through an agarose gel).
- A power supply (if this isn’t integrated into the gel system).
- A visualization system (UV or blue light) to see the DNA bands.
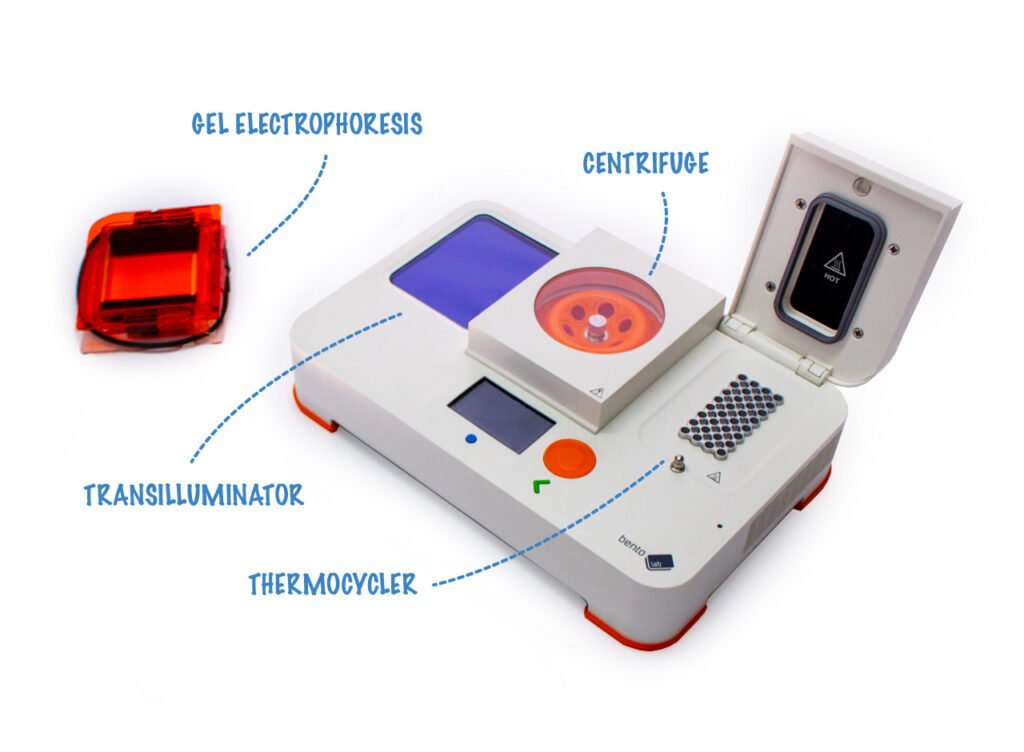
The Bento Lab system simplifies the equipment you need by integrating the PCR machine with all the necessary electrophoresis equipment. If you’re working with standalone tools, you’ll need a PCR machine, a gel electrophoresis tank, a separate power supply, and a UV or blue light transilluminator.

2. Reagents
DNA Extraction
To begin, you’ll need DNA samples, also known as the “DNA template.” You have two main options:
- Use pre-prepared DNA samples for simplicity.
- Incorporate DNA extraction as part of the lab activity, allowing students to extract DNA themselves (e.g., from cheek cells, plants, or other sources).
If you choose the latter, a DNA extraction kit is essential. Decide on the extraction method that best suits your setup and students’ skill levels—kits designed for educational settings are often user-friendly and reliable.
PCR
- Primers: These short DNA sequences are the key to amplifying the specific region of interest. The choice of primers determines the “story” of your experiment and connects to your teaching goals.
- Master Mix: A convenient all-in-one solution containing DNA polymerase, dNTPs, MgCl₂, and buffer. While you can buy these components individually, pre-made master mixes save time and reduce complexity.
- Nuclease-Free Water: Used for dilutions and reaction setup, ensuring no unwanted enzymatic activity interferes with the process.
Gel electrophoresis
To analyze your PCR results, you’ll need:
- Agarose: For preparing the gel matrix to separate DNA fragments by size.
- DNA Ladder: A size marker to compare and interpret the PCR results.
- Loading Dye: To track DNA samples as they migrate through the gel. There is also the option of adding the loading dye to the mastermix, saving an extra step. The mastermix FirePol includes a loading dye
- Staining Reagents: For visualizing DNA under UV or blue light. We would recommend safer alternatives like GelGreen or SYBR Safe over traditional ethidium bromide.
- Electrophoresis Buffer: Typically TAE or TBE, these maintain the pH and ionic strength during electrophoresis.
Want more inspiration? Get our free guide:
4 laboratory practical ideas for teaching PCR
3. Plastic Consumables
When teaching PCR, you’ll need various plastic consumables for handling reagents and samples:
- Pipette Tips:
Pipette tips come in various sizes, so make sure to check compatibility with your micropipettes. Most brands offer ‘universal’ tips, but not all tips will fit every pipette. - PCR Tubes:
These 0.2 mL tubes are specifically designed to fit thermocyclers. Choose high-quality, thin-walled tubes to ensure efficient heat transfer during PCR cycles. - Microcentrifuge Tubes:
Essential for reagent preparation and storage. Stock up on these sturdy tubes, which come in various capacities (commonly 1.5 mL or 2.0 mL). - Gloves:
A must for maintaining a clean and contamination-free environment. Use powder-free, disposable gloves, and ensure they are latex-free if allergies are a concern.
4. Other Labware
And finally, some additional labware to consider that may be needed depending on your protocol.
- Weighing Boats, Spatulas, and Scales:
Are you using powdered agarose? If so, you’ll need scales to measure the correct amount, a sterile surface such as a weighing boat, and a spatula for handling the powder. To skip this step, consider using pre-weighed agarose tablets, which eliminate the need for precise weighing and reduces waste. We love the convenience of using pre-weighed agarose tablets! - Microwave, Beakers, and Flasks:
Agarose preparation often involves dissolving the powder in a buffer and heating it in a microwave. Beakers or flasks are necessary for mixing and heating the solution safely and evenly. - Lab Coats and Safety Glasses:
Depending on the protocol and institutional rules, personal protective equipment (PPE) is essential for safety. Ensure students wear lab coats to protect clothing and safety glasses to guard against splashes or spills
We hope that this will give you an idea of what you will need to get started!
Looking for advice on using Bento Lab?
Book a free consultation or ask a question.