Sending Samples for Sequencing – Custom Primers

Abstract

This protocol describes how to send DNA barcodes for Sanger sequencing after following the DNA Barcoding PCR Protocol using your own primer set (not a DNA Barcoding Primer Mix). Follow this protocol if you selected “Custom Primer” when purchasing your Sanger Sequencing Reaction.

Sending samples for sequencing

In this step you will transfer your sample to the sequencing reaction tube and send it off for sequencing.

  1. Preparation

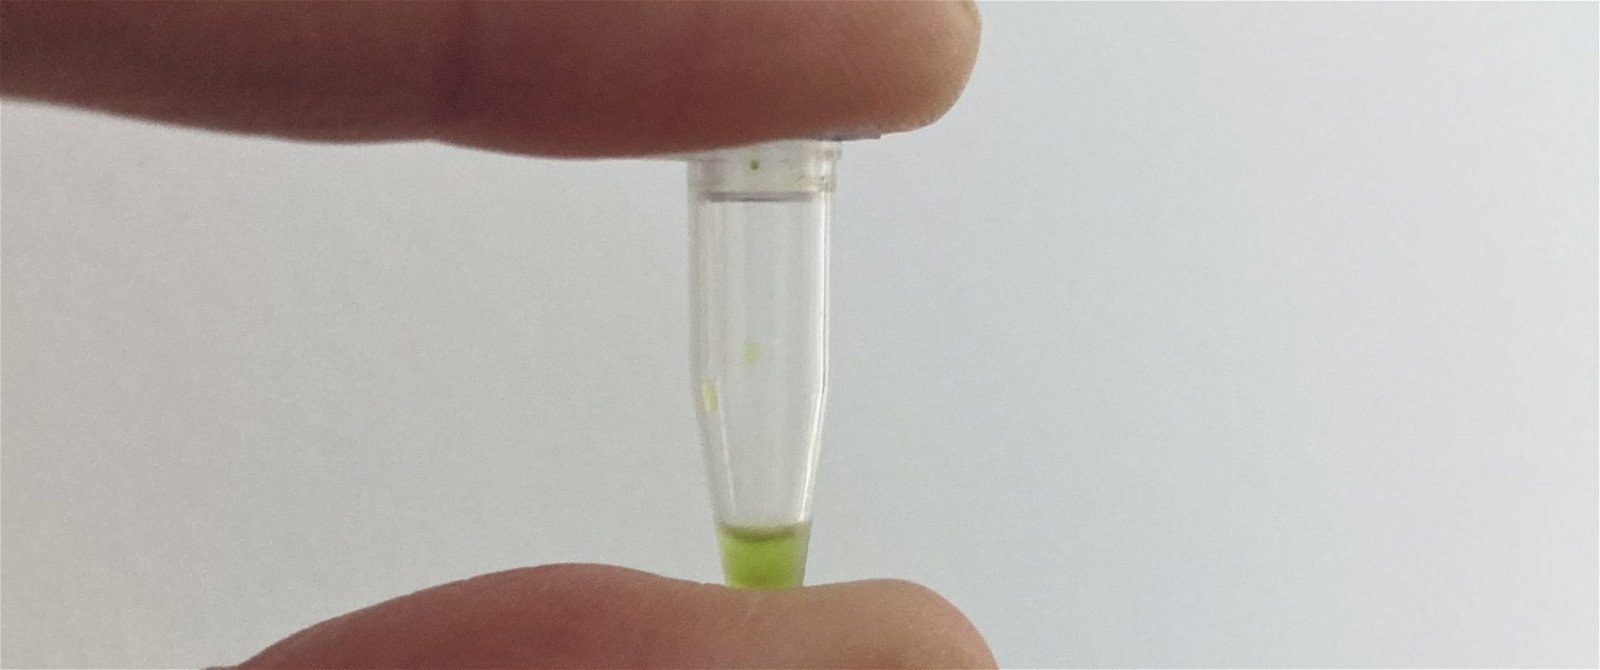
    Prior to starting this section of the protocol, remove your PCR amplicon (the green liquid in the PCR tube from the DNA Barcoding PCR Protocol) from the freezer and allow to defrost thoroughly.

    Leave your PCR amplicon to defrost in the fridge, either for a couple of hours or overnight.

  2. Transferring your sample

    When you order a Sanger Sequencing Reaction you will receive:

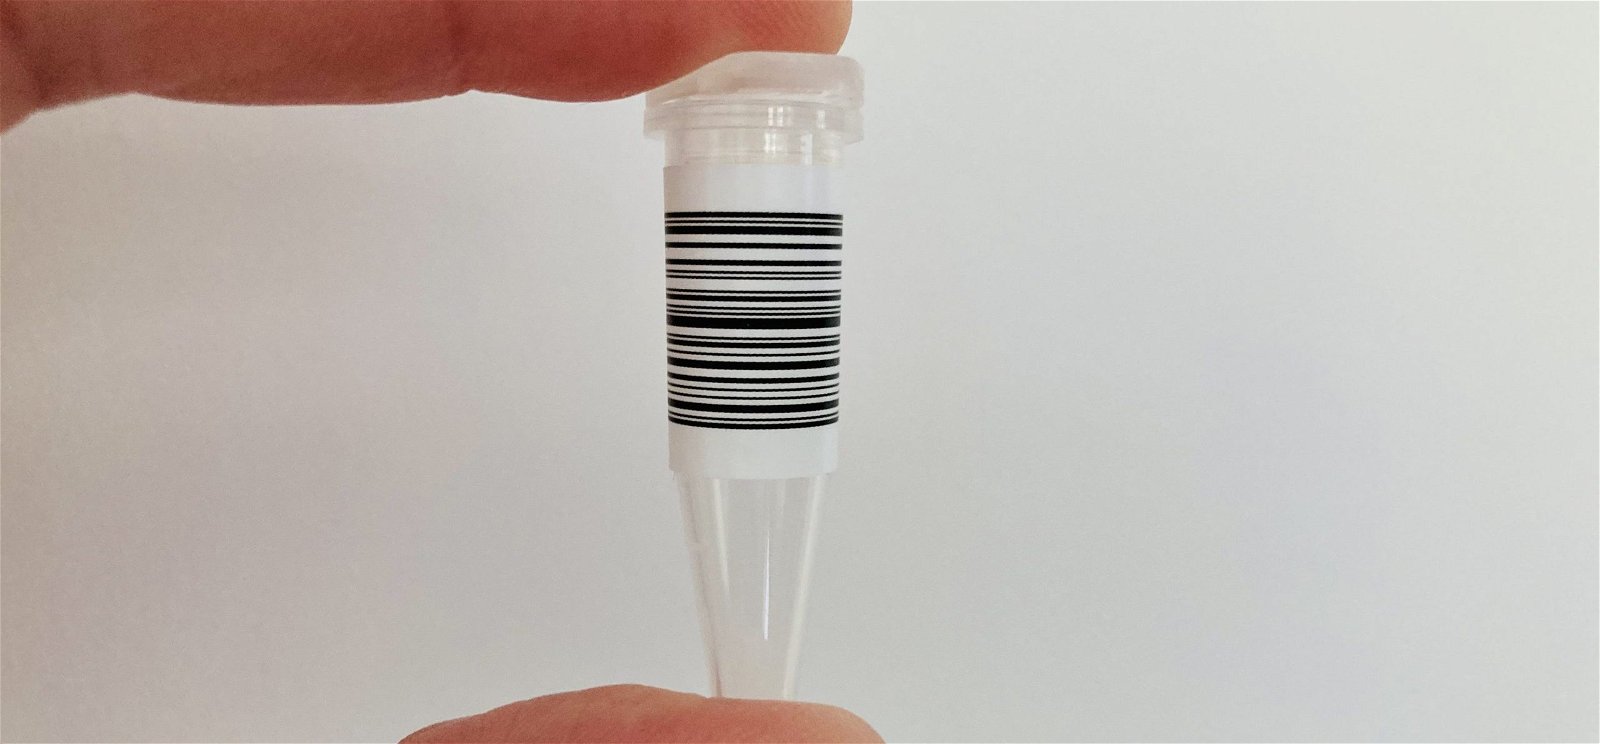
    • a sequencing reaction tube per sample (labelled with white barcode)
    • a pre-paid envelope
    • a sample list
    • an order receipt
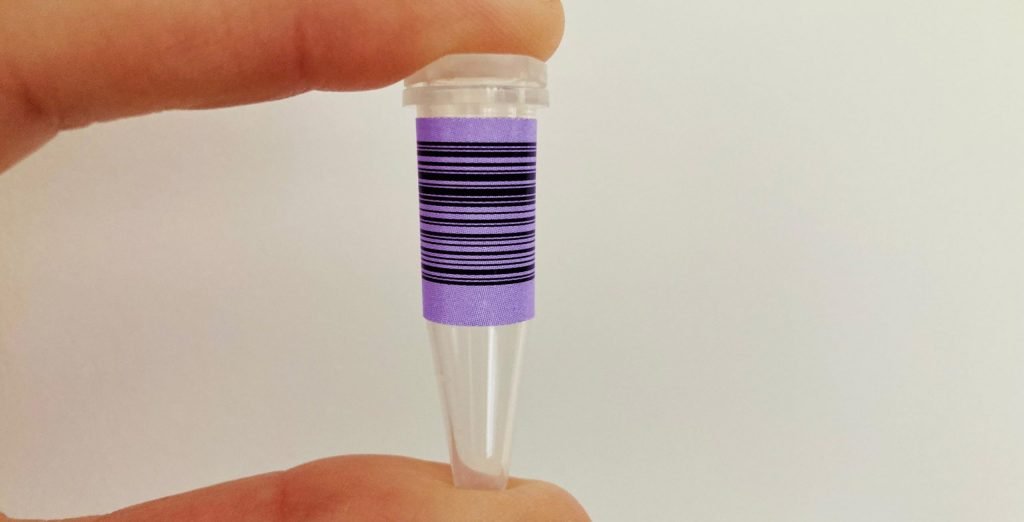
    • 1 x primer tube (labelled with purple barcode)

    For each sample, transfer the remaining PCR amplicon into a sequencing reaction tube. If you have multiple PCR amplicons, make sure to use a fresh pipette tip for each transfer.

    Record on the sample list next to the white barcode number which sample you transferred to the sequencing reaction tube, and keep for your records.

  3. Primer preparation

    To sequence DNA, the sequencing facility requires either the forward or reverse primer you used in the PCR mastermix to amplify your DNA.

    If you have used your own primers to amplify a DNA barcode, you will need to send either your forward or reverse primer to the sequencing facility along with your sample sequencing tube.

    The sequencing facility requires 2 μl of primer per sample being sent for sequencing (i.e. 10 μl for five samples) at a concentration of 10 μM.

    Record on the sample list next to the purple barcode number the name of the primer you are sending, and keep for your records.
  4. Packaging samples

    Place the order receipt (2) inside the prepaid envelope (1). Make sure the lids are closed properly on your sample sequencing tube (4) and primer tube (5) before also placing these inside the prepaid envelope. Seal the envelope. Keep the sample list (3) for your own records.

    If you cannot post straight away, place the envelope in the fridge or freezer until you can.

  5. Posting samples

    DNA is stable at room temperature for a few days, but it is best to coordinate postage so your samples spend as little time travelling as possible. Whenever possible, post your envelope just before the post is to be collected to avoid your samples sitting in the postbox during the day or overnight.

  6. You should receive your sequencing results within 72 hours of posting your samples. Keep your eyes peeled for an email from Bento Lab and follow the Identifying Samples from Sequencing Data protocol when it arrives.